Design, Fabrication, Powder Coating, and Installation.
We work with clients to design the gate, then have them fabricated, then powdercoated and installed. We work with just a few local fabricators and powder coating companies who specialize in doing top notch work.
1.) The process begins with the decision of having a slide gate or swing gate. Single or double ...sometimes both swing and slide.
|
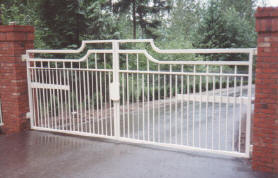
Swing Gates
- More economical than slide gates.
- They require two posts.
- 6" by 6" steel tubing.
- Wall thickness of 1/4".
- Set in three feet of concrete.
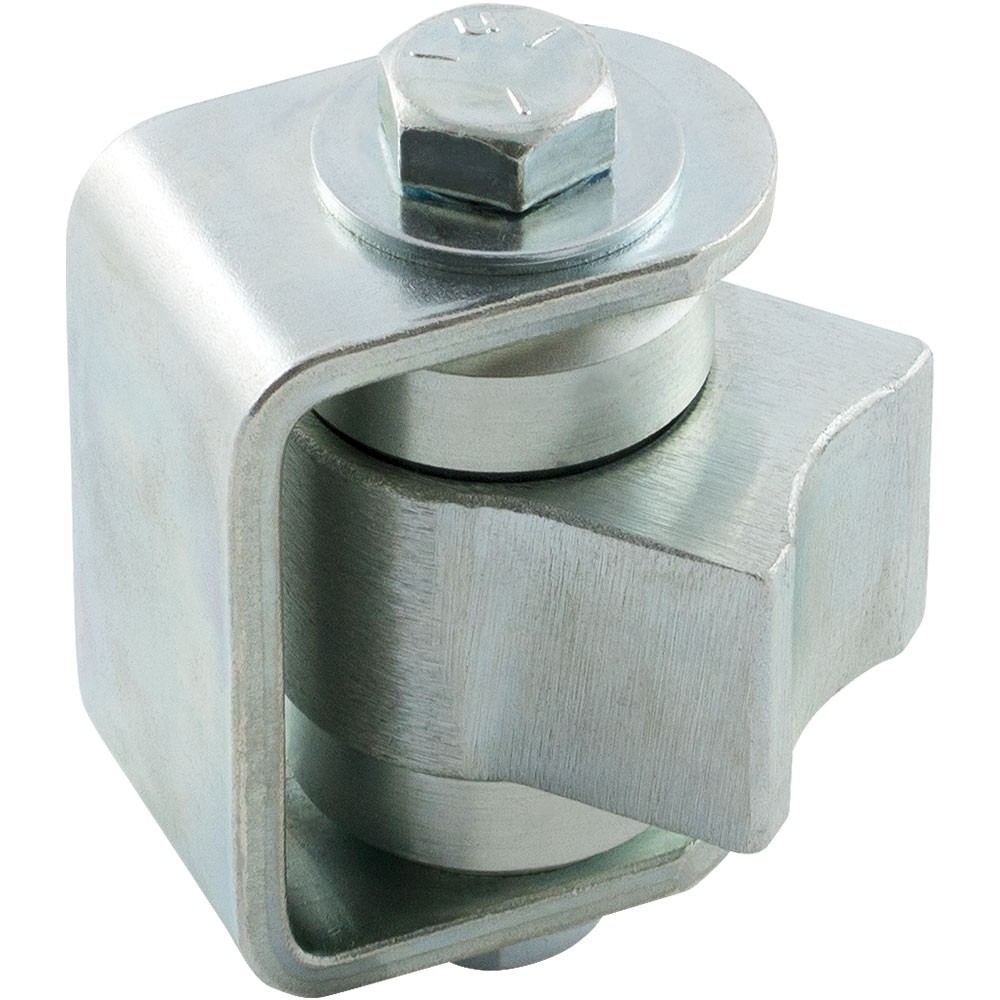
- Adj. hinges w/ replacable sealed bearings.
- Can swing in or out.
- May be arched and have finials on top.
- Often possible to use arm style operators.
- May require more (2-3) safety loops.
- Magnetic lock often recommened for dual gates to maintian closing alignment, and for those with a post mounted operator.
|
Sliding Gates
Three types: Cantilever, V-track and Trolly
Cantilever

- Two posts & Four wheels required.
- Gate is suspended above the driveway with 2 wheels above and 2 wheels below.
- 50% additional gate length for balance.
- Top rail of gate must be stright and flat.
V-track
- Track is laid in concrete adding to cost.
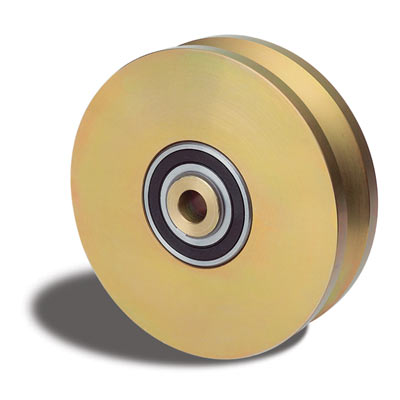
- V-groove metal wheel support the gate.
- Additional rollers keep the gate vertical.
Trolly

- One rail is open for the wheel assembly to ride in.
- This rail may be the bottom rail or an attached side rail
- Additional rollers again keep the gate vertical.
|
2.) Quality and Materials
|
Tubing
Steel tubing comes in many sizes, and thicknesses.
As it is bent into a tubular shape, the thinner materials produce a sharper edge on the corners. Thicker steel tubing has noticible roundedness to it's edges. Thicker means longer lasting and greater strength, but also more weight and expense.
Frame: Top, Bottom and Sides.
The standard for gates is to use 2" tubing, when measured from front-side to back-side.
This matches up with the hinges available as well as the groove in cantilever support wheels and V-track housings. Many gates are made using 2" by 2" square tubing. We prefer to use a slightly taller 2" by 3" tube for the bottom rail as it gives the gates additional strength.
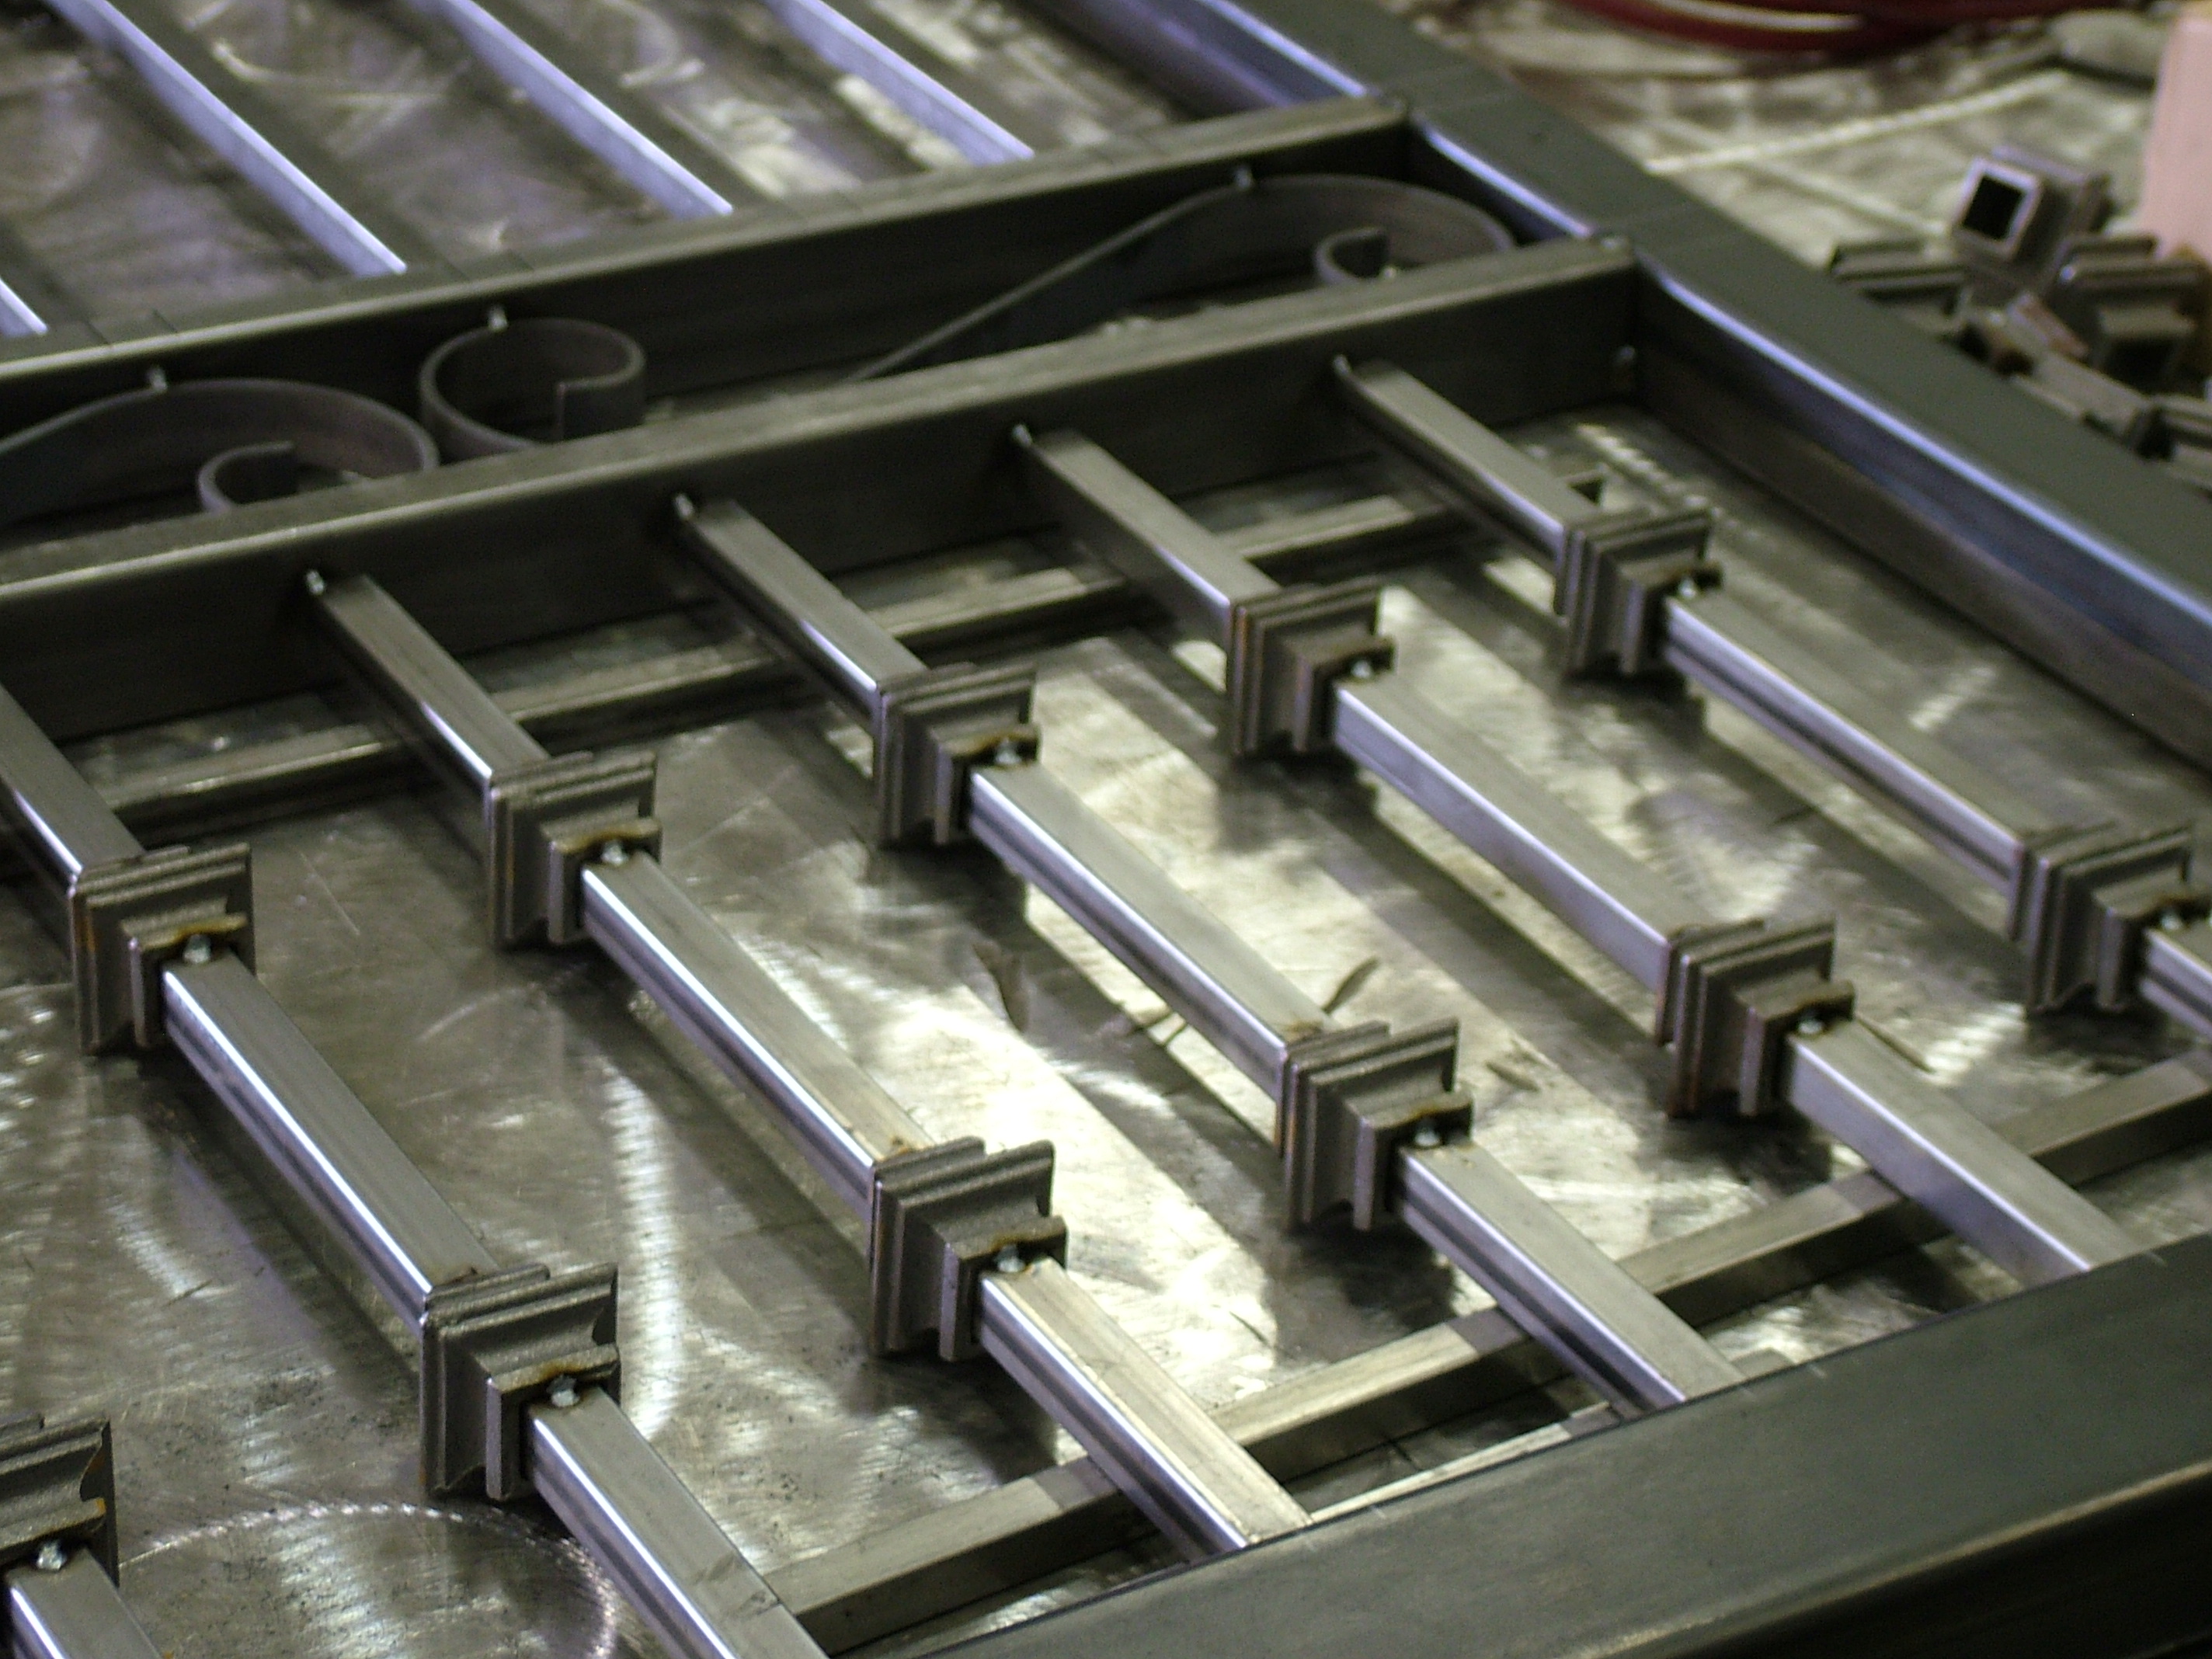
Middle rails.
While it is possible to make a 2-rail gate having just the top and bottom rails, a third rail is strongly suggested for additional strength, and in the case of swing gates; a place to attach the arm of the operator to. Without this third rail, additional plates must be attached to the pickets and the bracket for the arms welded onto it instead.
Rails are generaly of a channel shape, 2" wide by 1" tall. The reason for this two-fold: The channel material is easier to bend into arch shapes and can be punched through to allow the pickets to extend through them.
2" by 2" tubing is also often used as it looks just a bit nicer. However, it can crease if bent into a tighter-smaller radius for an arch, and then the pickets must be cut and welded onto it as it cannot be punched through.
|
Pickets
Pickets are the vertical pieces you find in most ornamental iron gates.
As with other tubing, they come in many sizes. The gates we design would normaly have 3/4" square pickets. This looks most pleasing to our eyes so has become standard unless a client wants either thinner or heavier tubing ...which some do.
1/2" is not uncomon, costs slightly less and makes for a lighter gate. But the pickets are also more easily bent from being banged into.
Some folks also like much wider pickets, heavier, and looking more robust. And various sizes can be included for various sections of the gates. They can also be welded into place at various angles not just vertically.
Spacing of pickets on swing gates in the past was typically 6" center-to-center. This has changed in the last few years on slide gates. There is a potential hazzard for someone to slip their hand through the pickets and be injured as the gate moves. So currently the (UL325 and ASTM F2200) standard is that the gap between pickets be no more than 2-1/4" up to 6 feet in height. This is overcome by placing a wire mesh over the pickts to prevent a person reaching through.
That said; the State of Washington does not currently enforce these regulatins, so it becomes a liability issue for the owner to consider. But we will not install gates having pickets below the bottom rail, or dangerous extentions reaching outward.
|
3.) DesignThere are almost no limits to customizing designs.
|
Rectangular Shapes
The simplest and least expensive designs will be rectangular.
In the past, we have recommended a high quality, simple, three rail rectangular gate as a starting point in bids and discussions. They remain a less expensive option still having the elegant visual appeal of a classic ornamental iron gate.
Less expensive; would be to use thinner pickets, 2" square tubing on the bottom rail, and not have a middle rail.
Going the other direction; additional rails, and larger pickets. Designs can also incorporate multiple pocket sizes and spacings. Pickets can also extend above the top rail (except for the catilever slide gates) with finials. Angled pickets are also possible but push the price up a bit further.
|
Arched Designs.
Arched designs cost a bit more as the fabrication processes become more involved. The fabricator must bend the tubing or channel materials, matching bend from left to right. Punching through channel steel requires further sanding to widen the holes as they are on an angle. Pickets must be cut to varying lengths instead of all being the same.
The arch can be of different heights within the limits of the fabricator. Gates can also have more than one arched rail with two obeing quite common. This can leave room for a logo or name between them as well.
Some occasionaly choose to have an inverted arch instead of one rising upward in the center.
|
4.) Ornamentation
|
Knuckles
Knuckles fit over pickets and are welded in place.
Pickets
Pickets are also available as solid pieces with a twist to them. And they may also be ordered with knuckles already included.

|
Finials
Finials add class to the top ends of pickets.


|
Lettering and Logos
Letters are available in many styles and fonts. Agan, these are off the shelf items and simply welded in place.
Plasma cut Designs
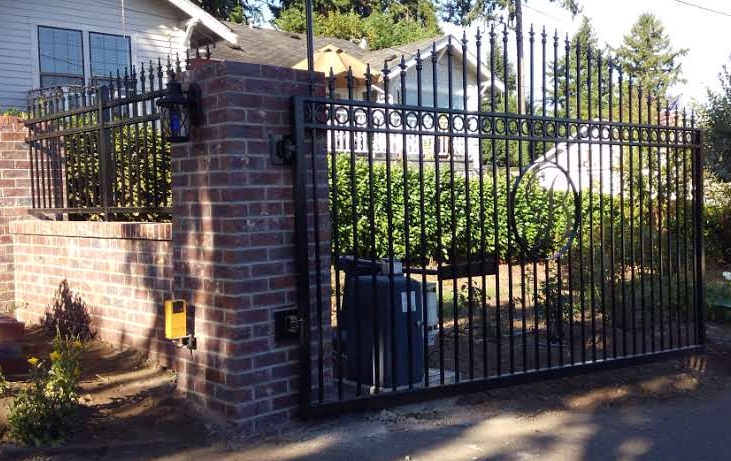
A bit more custom are the plasma cut images available, animals, birds, flowers, maountain scapes etc. And most any design you have in mind can be custom made. It's common to have these welded into a metal circle in the middle of a section of pickets.
It should be noted however that our fabricators are reluctant to sacrifice the strength of the vertial end tubes of gates in placing them. And this is where experience and professioalism come into play. They know that disrupting a vertial end rail can cause warping down the road with time. It is better to such designs on each gate leaf than to try and split one between the gates.
Experience has also told us to drill small holes into the rails at the end of pickets. Tiny, almost microscopic holes in welds can allow moisture to slowly accumulate in pickets. Years or decades later a freeze can burst or distort the pickets as a result.


|
Ornamental Inserts
There is a huge variety of other panels and decorations which may be easily included in the gates. These are most often available through companies specializing in their production. The gate fabricators too are artists able to create just about anything you can dream up.
|
5.) Panels
|
Ornamentsl Panels
Many types of panels are availble as well. These can include everything from off the shelf designs and various sreens or solid metal panels. to wood covering the entire gate frame. Note that wind is a major consideration with solid panels and may require more powerful operator.


|
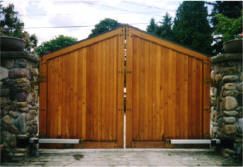
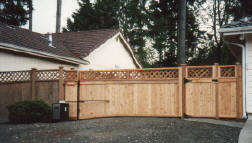
Wooden Panels
A common type of panels is wood covering the entire gate frame. Note that wind is a major consideration with solid panels and may require more powerful operator.
|
6.) Finish and long-term maintenance
|
Paint v.s. powder coat?
- Powder coating can look amazing, but prep still matters, especially in wet coastal / PNW environments.
- Edges, welds, and hidden seams are where rust starts first if prep is rushed.
- Gates in our area do not take vey long before nature adds some green moss aor algae to them. Annual cleaning and touch up painting keeps them looking new and prevents rust from spreading
We recommend plain colors such as black or white or perhaps green. Thi9s makes it easier to touch up with paint availabe at the store. If you do get a more custom color, ask for some touch up paint at the same time, to be fulfilled by the company doing the powder coating.
|
Realistic expectations
Any steel product outside will need maintenance over time. A good design and good prep can extend the interval dramatically.
Maintenance-friendly tips
- Plan for access to hinges/rollers
- Use hardware that can be adjusted later
- Keep vegetation from rubbing on the finish
|
7.) What drives cost
|
- Gate size and complexity
- Slidig gates are more than swing gates.
- Power brought in from a long distance
- Site Work
- Automation, safety, and access control
|
If you want a design quote
- Opening width (approx is fine)
- Photos of entrance and the “look” you like
- Preferred style: modern / traditional / privacy
- Any HOA/architectural constraints
Request a Bid
Gate Designs
|
|
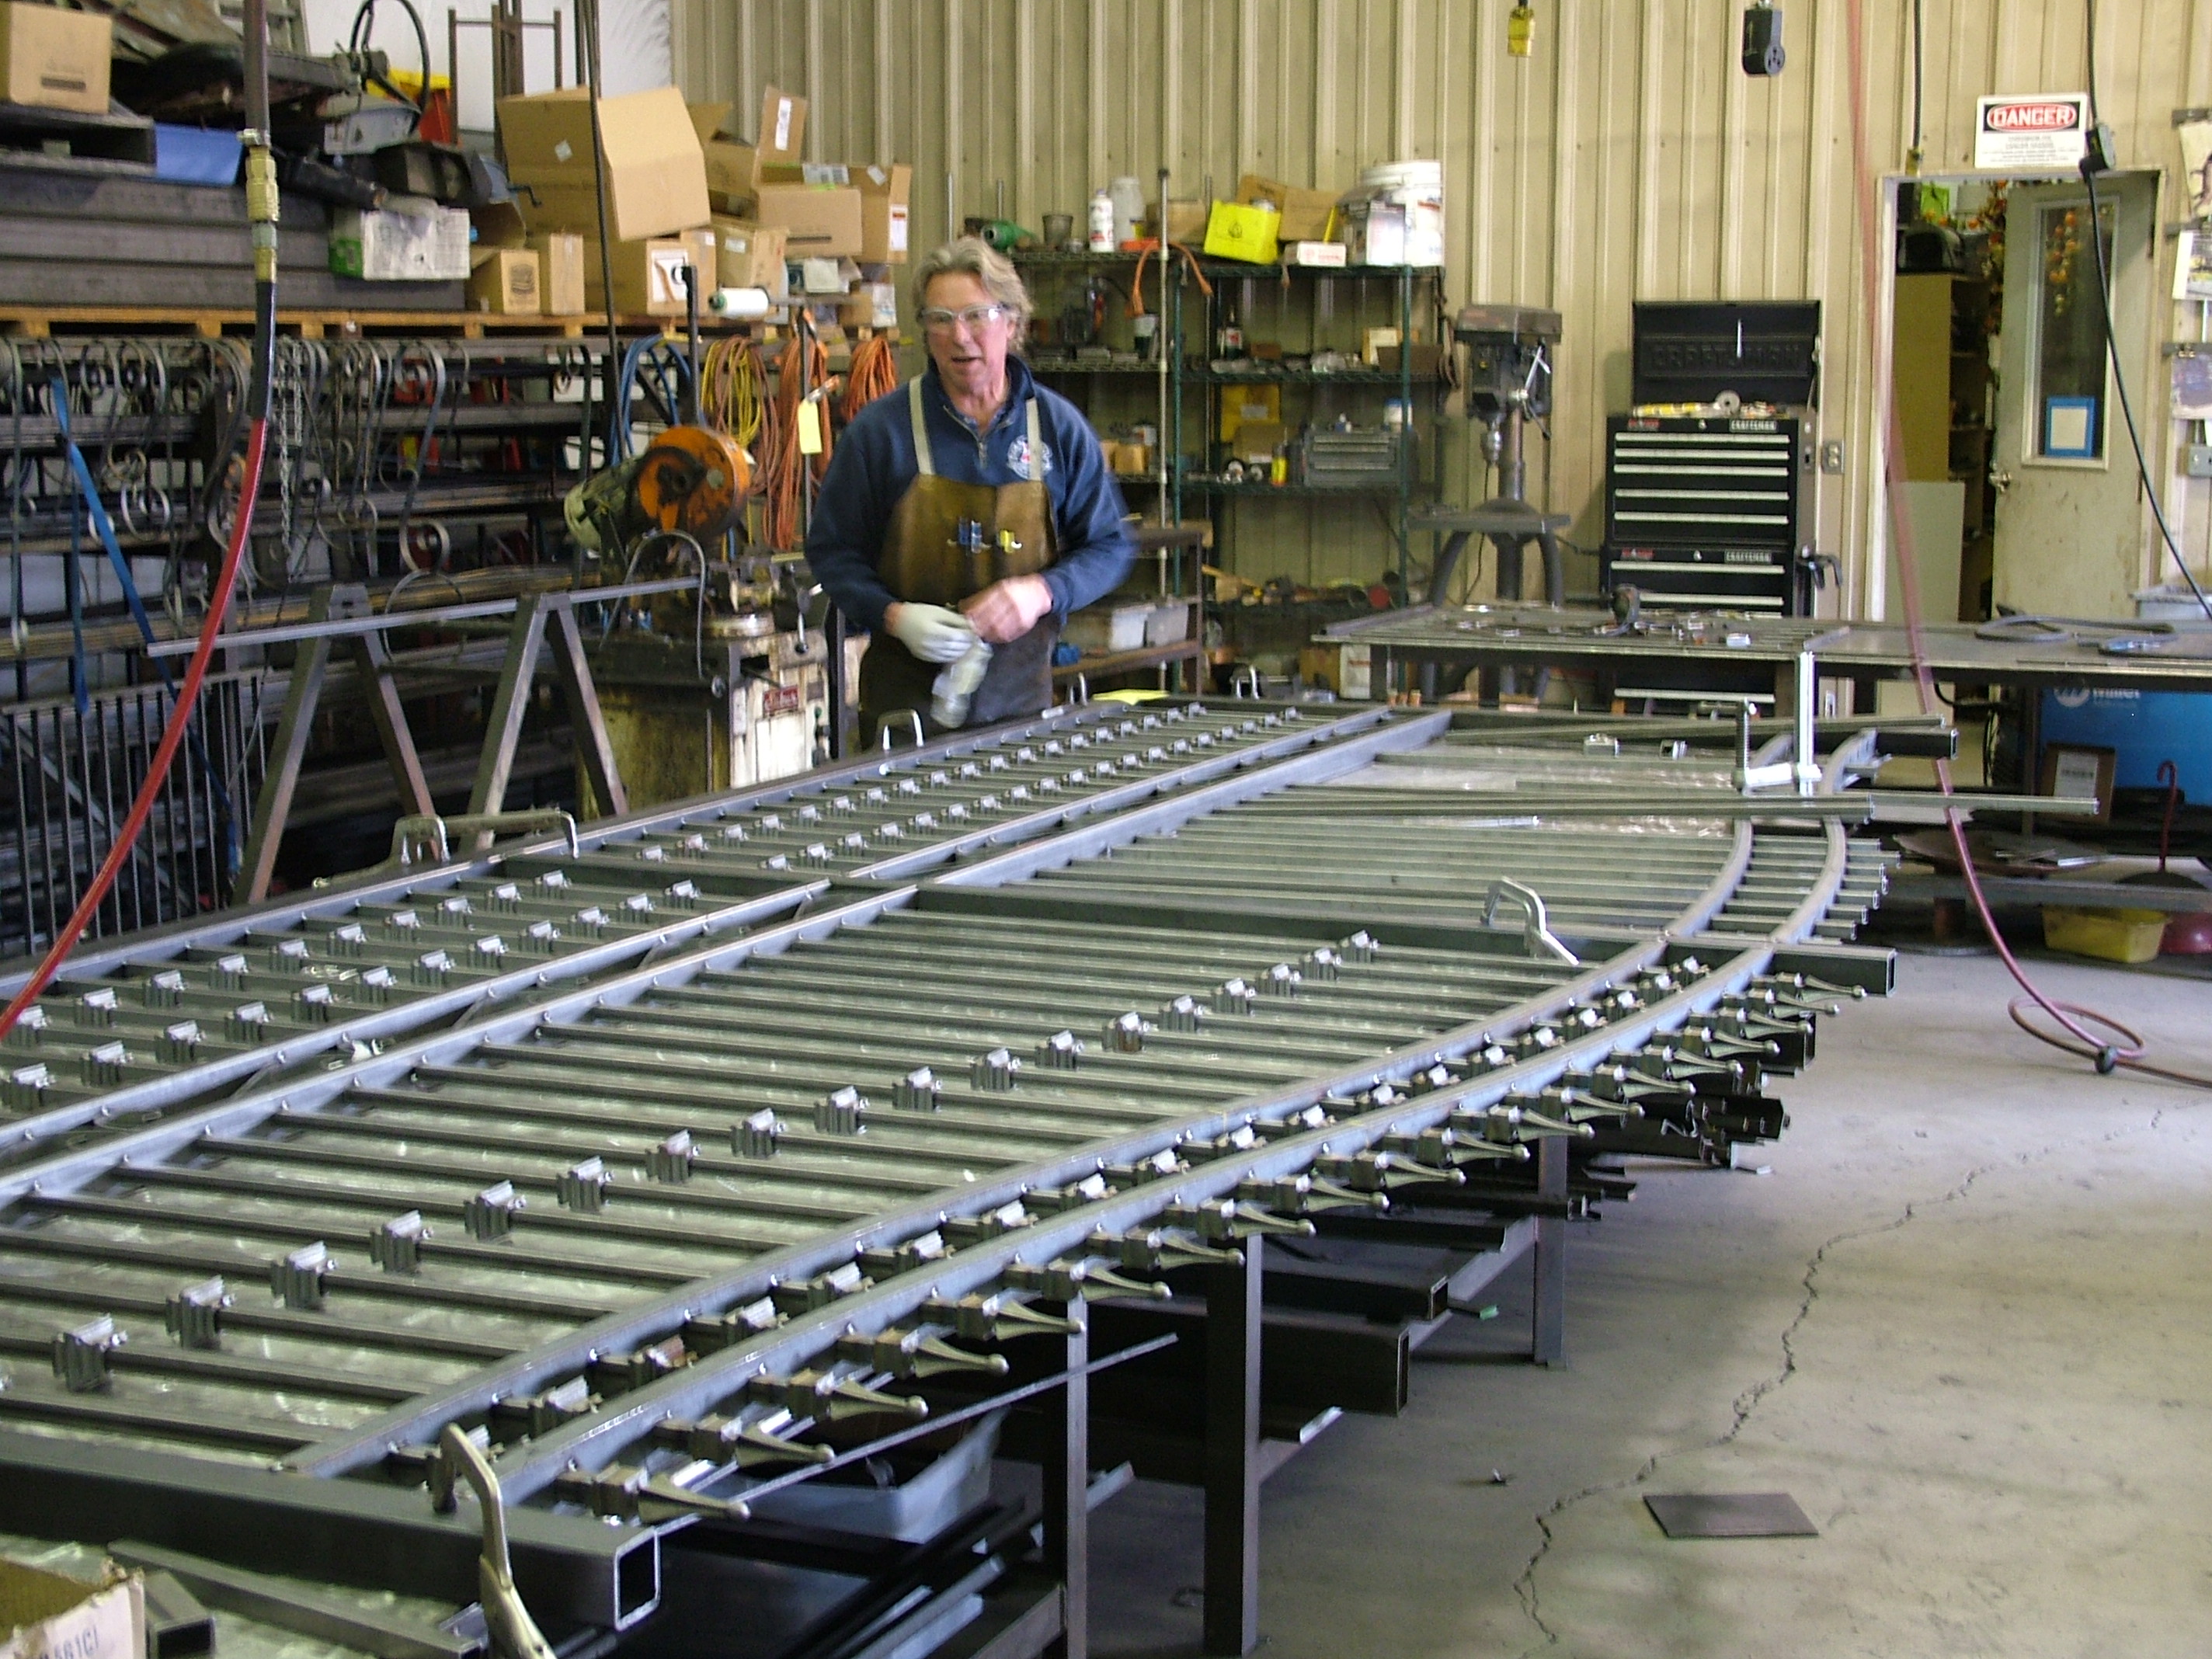
Gate Fabrication
Knuckles

Hanging a gate

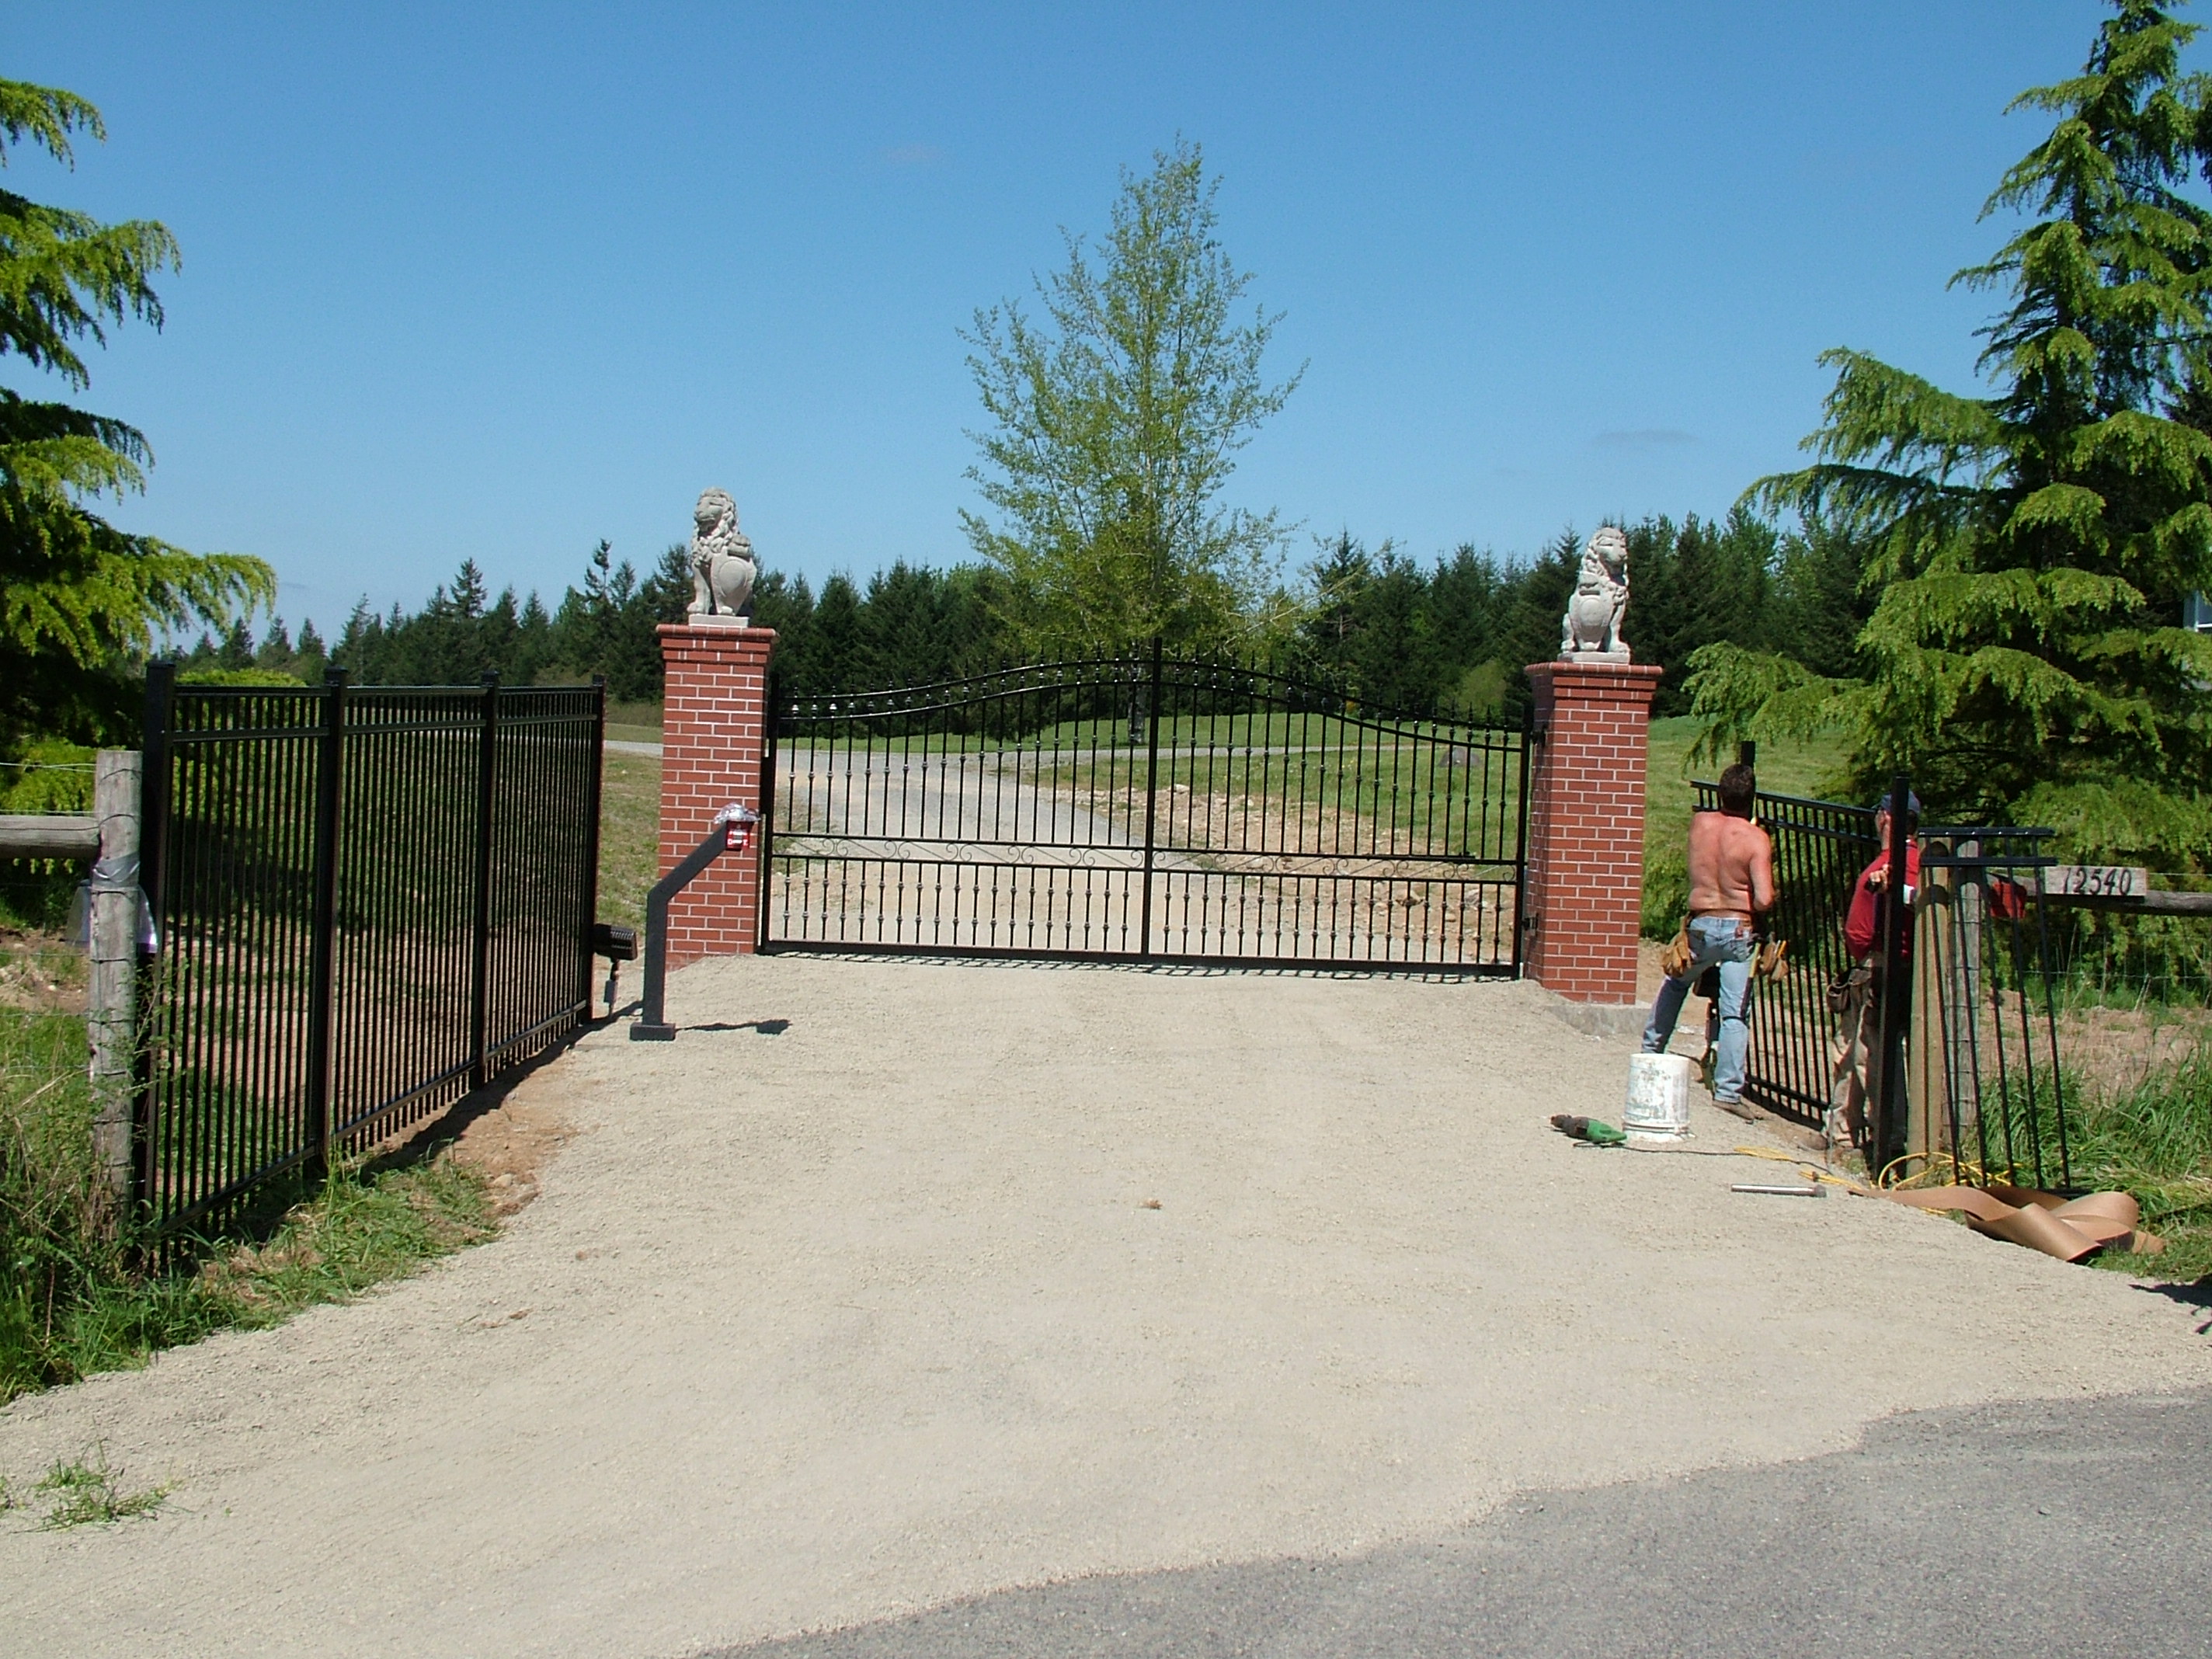
Brick Columns w/ Lions
Added Ornamental Iron Fencing
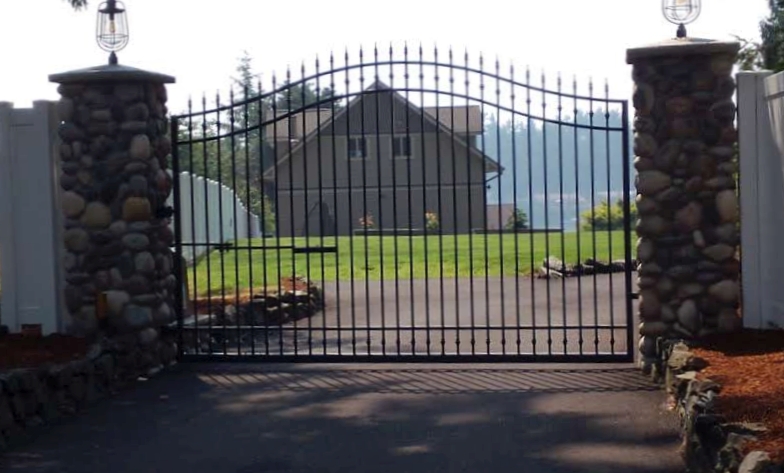
Gate with columns and lights
Custom Gate Shape
Fencing atop Brickwork
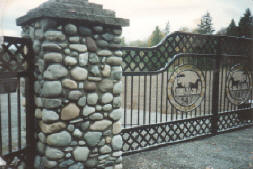
Stone Columns


|

 Clients please login